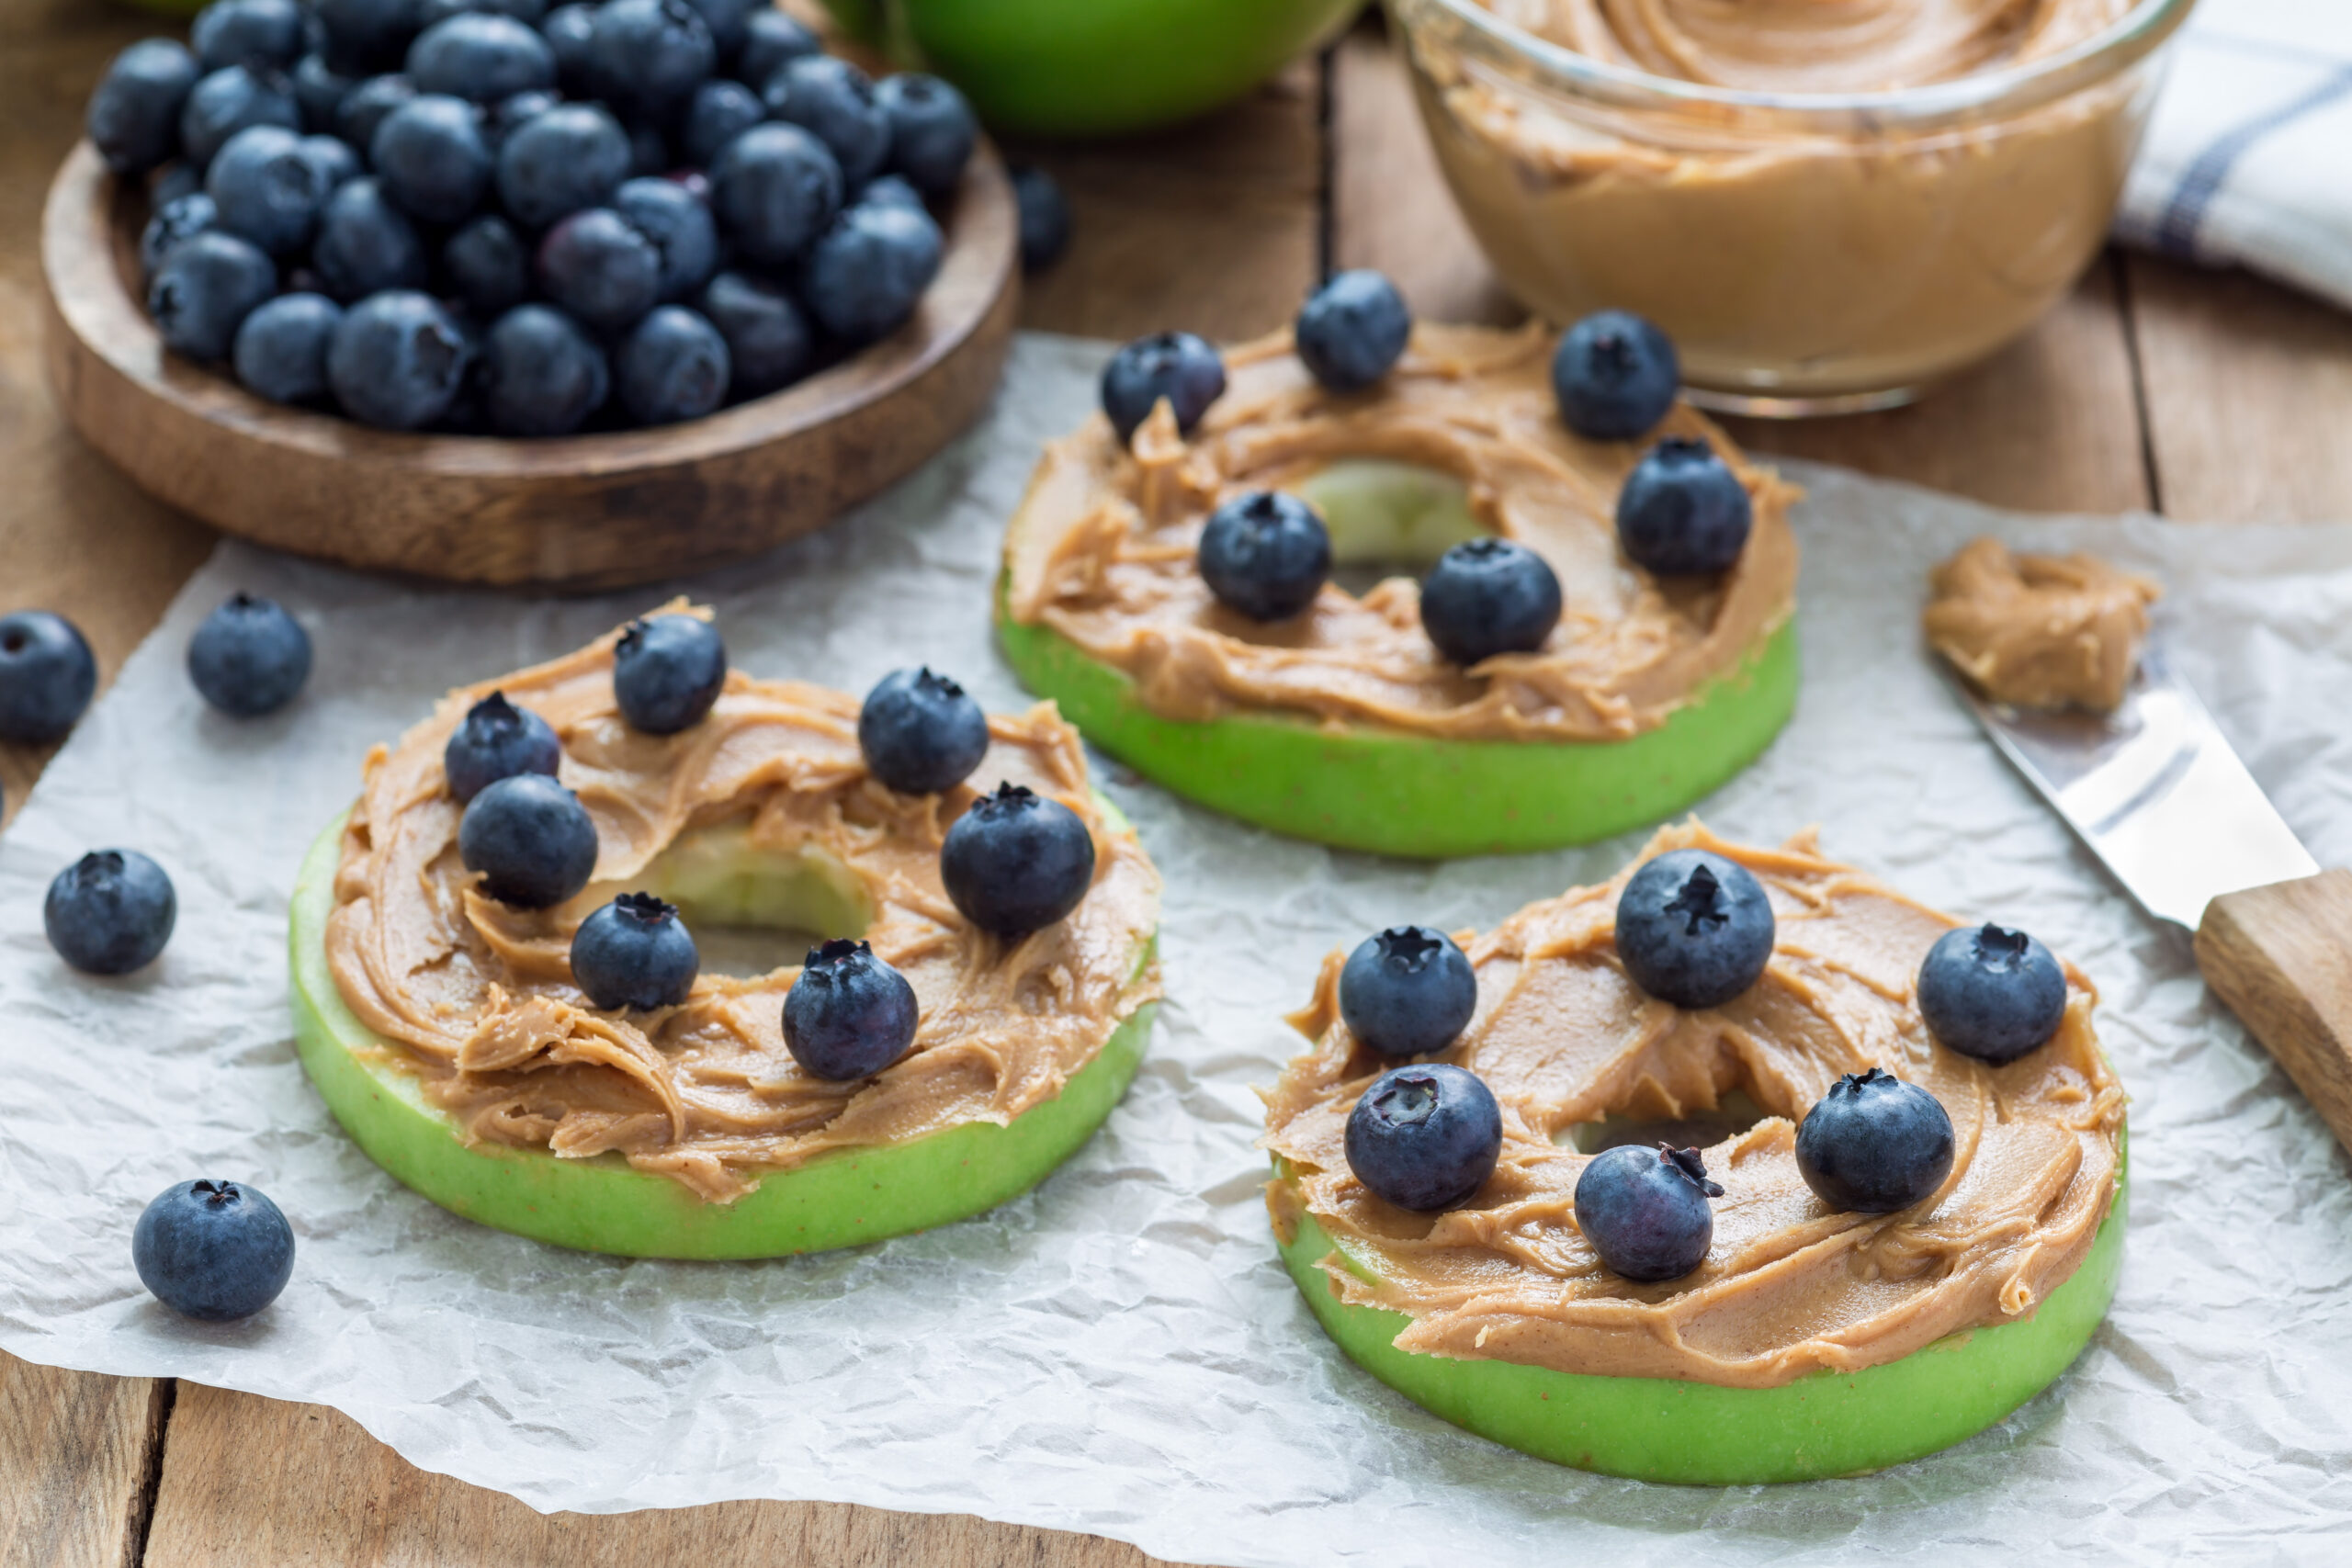
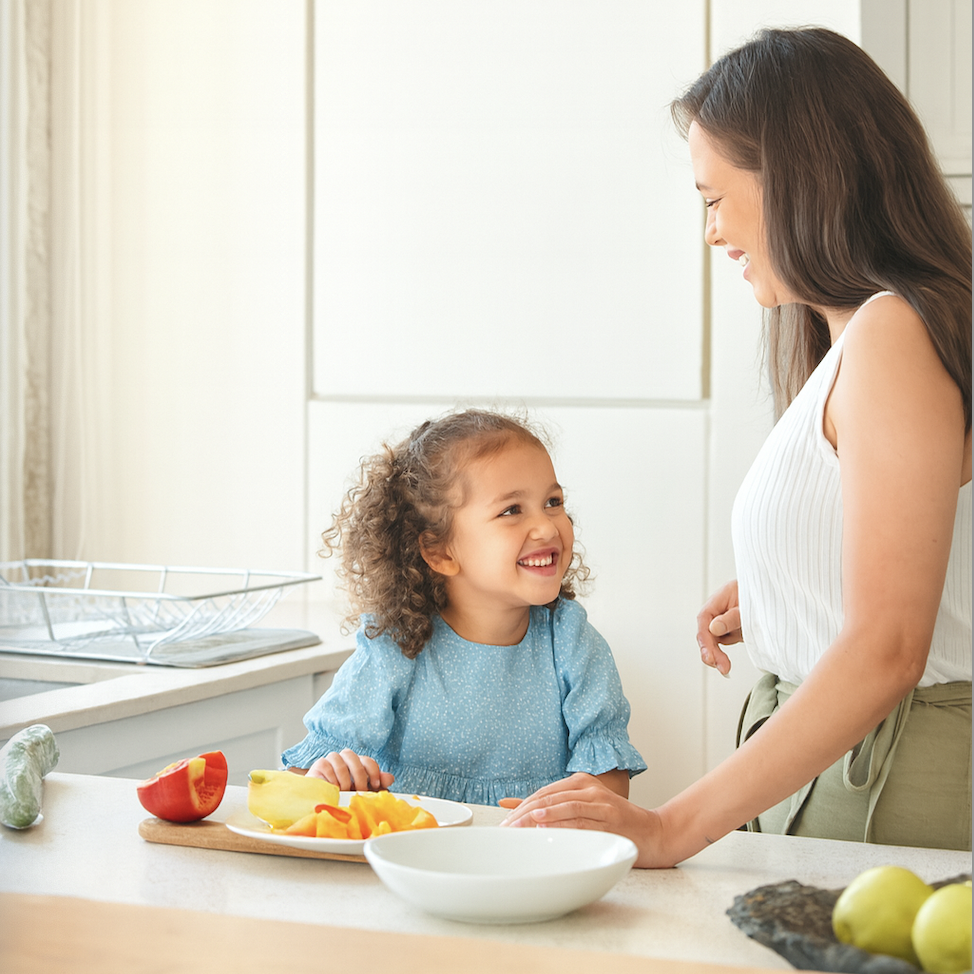
How to Preheat a Thermos for Packing Hot School Lunches

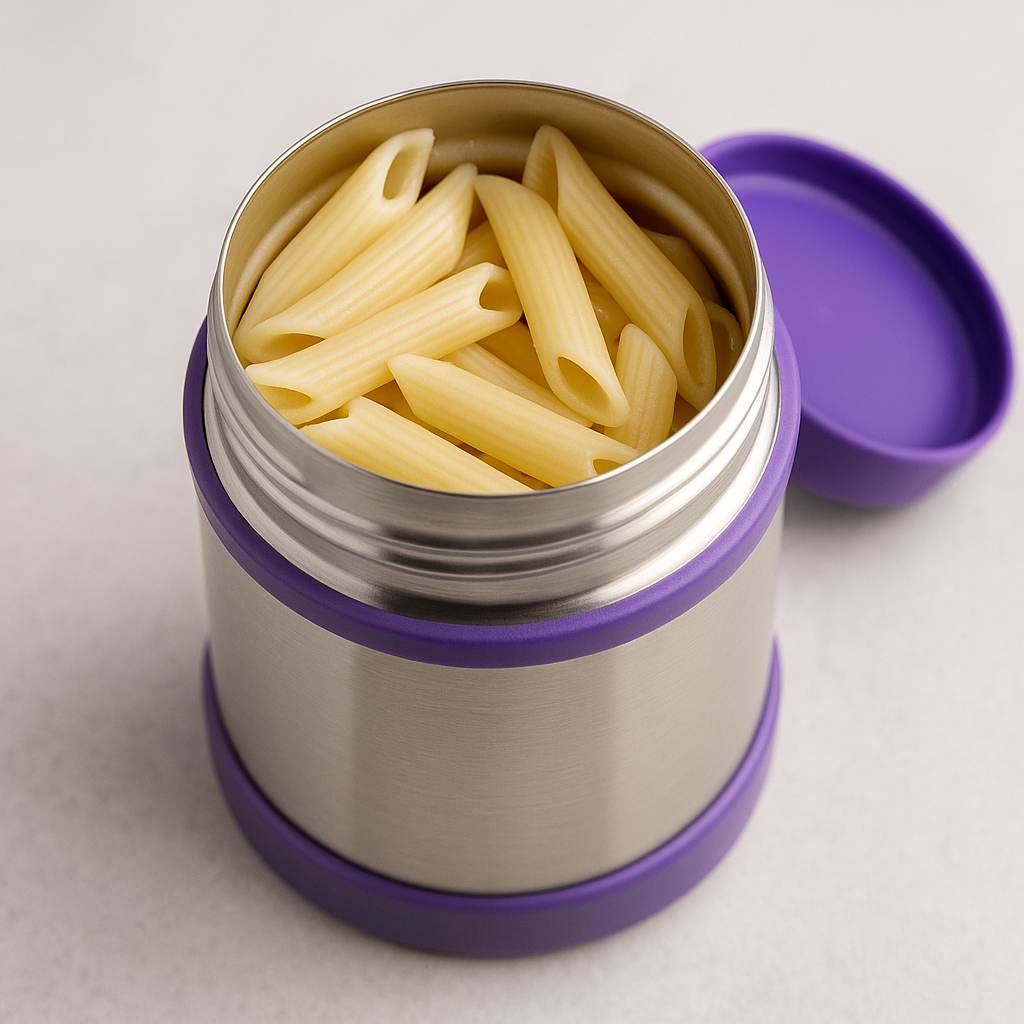
Between soccer practice, homework, and early school mornings, I’ve learned a few tricks to make sure lunches actually stay enjoyable by noon. One of the simplest and most effective is preheating your thermos. Years ago I packed chicken nuggets for my son only to open the thermos afterschool and find the chicken nuggets still there. Why didn’t he eat them? Because they became lukewarm — lesson learned. Now I always take five minutes in the morning to preheat the container so my kids get a truly hot school lunch every time. This works with chicken nuggets to pastas to soups, and more.

Why preheat a thermos?

A thermos works by limiting heat transfer between the food inside and the outside environment. If the interior of the thermos starts cold, it will pull heat from your hot food and cool it down quickly. Preheating warms the inner walls (and the air inside), so the hot food you add stays hot for much longer. It’s a tiny step that makes a big difference for hot school lunches.

What you’ll need

  • A clean, empty insulated thermos
  • Boiling water (from a kettle, small pot, or microwave-safe container)
  • Hot food ready to transfer (soup, chili, pasta, stew, etc.)
  • Towel or pot holder (for handling the thermos)

How to choose the right thermos for your child’s lunch:

To pick the best thermos for your childs’ lunch, consider these factors:

  • Ease of opening: Look for lids with grips or simple-to-use latches, which are critical for younger kids who need to be self-sufficient at lunchtime.
  • Insulation performance: A good thermos will keep hot food hot for at least 5 hours and cold food cold for 7 or more. Preheating the jar with hot water can improve heat retention for food.
  • Size and capacity: An average 10–12 oz size is suitable for most school lunches. Consider a larger size for bigger appetites.
  • Cleaning: Jars with wide mouths are easier to clean. Look for dishwasher-safe models, but be aware that some components might still require hand washing to maintain the seal.
  • Leakproof design: Ensure the seal is reliable to prevent messes in lunch bags and backpacks.
  • Bento box compatibility: If you want to pack a mix of food, consider an all-in-one bento box system with a removable thermos section.

Over the years I’ve used a few different brands that hold heat well and are easy to clean. Popular, reliable options include stainless-steel insulated bottles and kids’ thermoses such as Thermos Funtainer, Bentgo Kids Stainless Steel Food Jar, Bentology Insulated Lunch Jar, Skip Hop Insulated Food Jar, Stanley Classic Food Jar, and OmieBox Bento Box for Kids. Choose a size that matches the portion your child will actually eat.

Step-by-step: Preheat your thermos in 5 minutes

  1. Boil water Boil water on the stove, in a kettle, or in the microwave in a microwave-safe container. The hotter the water, the better it will warm the inside of the thermos.
  2. Fill the thermos Remove the lid and carefully pour the boiling water into the thermos. Fill it up right to the first rim so the interior walls are well-coated with hot water.
  3. Seal and wait (about 5 minutes) Immediately put the lid back on and let the hot water sit inside for about five minutes. During this time the hot water heats the inner walls and the air pocket, so the thermos interior is warmed through.
  4. Pour out and fill with hot food After five minutes, pour out the hot water and immediately fill the thermos with your heated food. Close the lid tightly. Because the interior is already warm, your food will lose far less heat while it waits for lunchtime.

How hot should the food be?

For safety and quality, reheat leftovers to a safe temperature before packing. The USDA recommends reheating leftovers to 165°F (about 74°C) to ensure harmful bacteria are eliminated. For freshly made soups or stews, bring them to a simmer so they’re piping hot when you transfer them into the preheated thermos. Hot food that’s truly hot at the time of packing will remain hot much longer.

Safety tips and extra suggestions

  • Handle boiling water carefully to avoid burns. Use a towel or pot holder when filling the thermos.
  • Follow the manufacturer’s instructions for your specific thermos. Some lids or seals have special care instructions.
  • Pack the thermos in an insulated lunch bag or surrounded by other insulated containers to minimize heat loss during transport.
  • Keep the thermos upright in the lunchbox to avoid leaks and to keep the seal effective.
  • If you’re packing for very young children, let the food cool slightly after reheating and before packing to avoid scalding — the food should still be hot, not dangerously hot.

Quick troubleshooting

  • Food not as hot as expected? Make sure you preheated long enough, the food was hot enough when packed, and the lid was sealed immediately.
  • Thermos smells? Wash thoroughly with hot, soapy water and let air dry. For stubborn odors, a paste of baking soda and water or a short soak in diluted white vinegar can help.

Final thoughts

Preheating a thermos takes about five minutes, but it makes a noticeable difference in the quality of hot school lunches. As a mom of four and a pediatric RDN, I’ve found this small step keeps soups, stews, and other hot meals enjoyable and safe by lunchtime. Try it next time you use a hot food Thermos!

Leave a Reply

Your email address will not be published. Required fields are marked *

    beth conlon dietitian nutritionist new jersey

    Hi! I’m Beth Conlon, PhD, MS, RDN


    I'm so glad you're here!

    As a Pediatric and Family Nutrition Expert and mom of 4, I truly understand the ups and downs of feeding children. This is a space where you can get tips and tricks that will help you with any feeding challenges, from picky eaters to eating disorders, and more. Additionally, I'm excited to share recipes that are perfect for families.

    I can't wait to share this journey with you. If you need extra assistance, please contact me today and we can explore ways to work together.

    Recent Posts

    Easy Breaded Chicken Recipe for Families

    Easy Breaded Chicken Recipe for Families

    Jump to Recipe Some nights, dinner feels like a juggling act. One child is begging for chicken nuggets, another insists they only want pasta (with butter, not red sauce), and…
    Read more

    Follow me

    Get Our FREE 5-DAY FAMILY MEAL PLAN

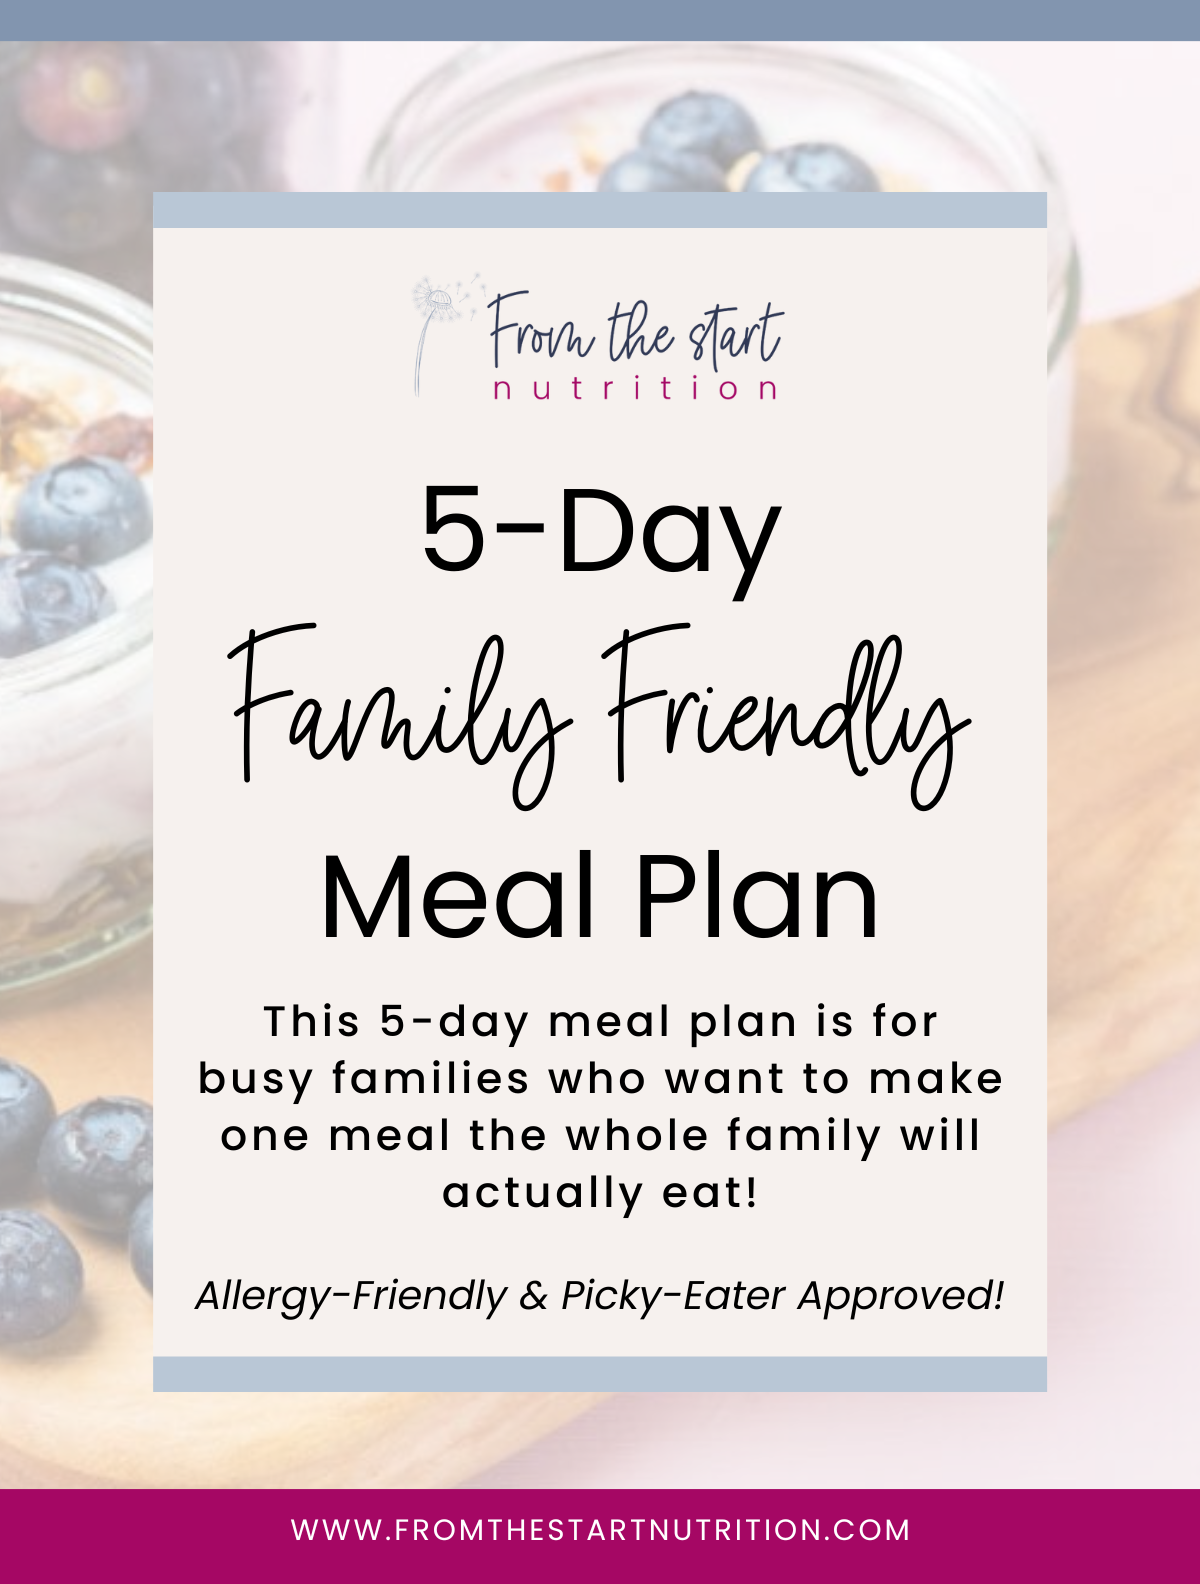
    Simple, balanced meals with breakfast, lunch, dinner & snacks the whole family will enjoy.

    Branding & Website by Declet Designs